Webiny CMS MCP Server for Cursor 9 tools — connect in under 2 minutes
Cursor is an AI-first code editor built on VS Code that integrates LLM-powered coding assistance directly into the development workflow. Its Agent mode enables autonomous multi-step coding tasks, and MCP support lets agents access external data sources and APIs during code generation.
ASK AI ABOUT THIS MCP SERVER
Vinkius supports streamable HTTP and SSE.
Vinkius Desktop App
The modern way to manage MCP Servers — no config files, no terminal commands. Install Webiny CMS and 2,500+ MCP Servers from a single visual interface.
{
  "mcpServers": {
    "webiny-cms": {
      "url": "https://edge.vinkius.com/[YOUR_TOKEN_HERE]/mcp"
    }
  }
}
* Every MCP server runs on Vinkius-managed infrastructure inside AWS - a purpose-built runtime with per-request V8 isolates, Ed25519 signed audit chains, and sub-40ms cold starts optimized for native MCP execution. See our infrastructure
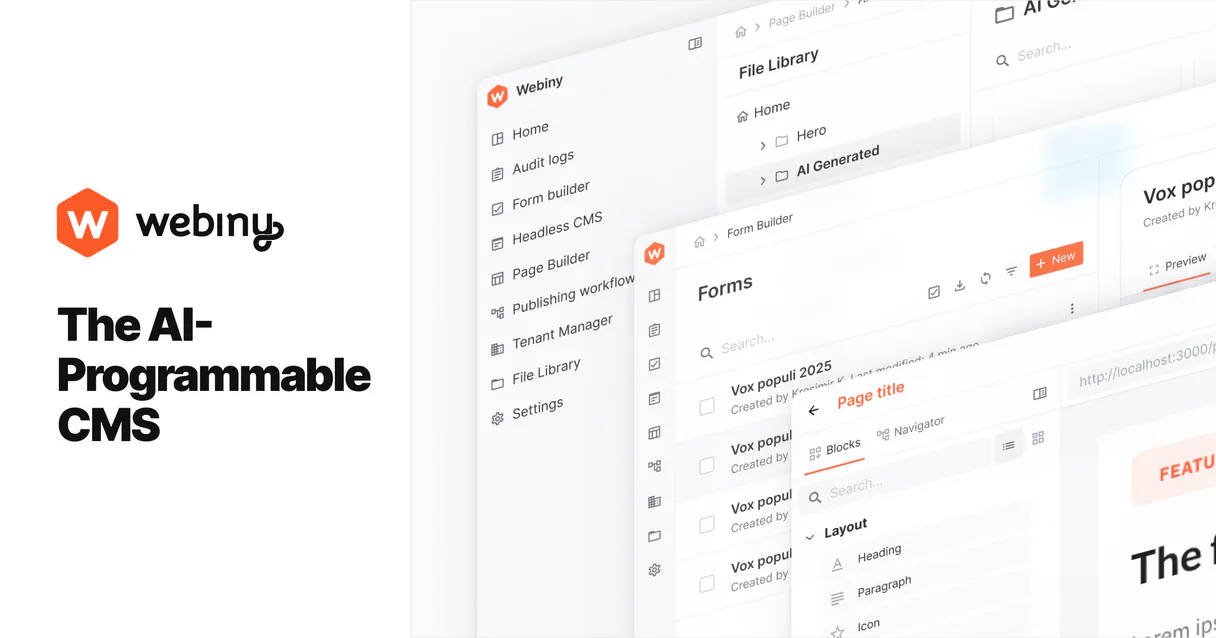
About Webiny CMS MCP Server
Connect your Webiny CMS instance to any AI agent and manage your headless content infrastructure through natural conversation.
Cursor's Agent mode turns Webiny CMS into an in-editor superpower. Ask Cursor to generate code using live data from Webiny CMS and it fetches, processes, and writes. all in a single agentic loop. 9 tools appear alongside file editing and terminal access, creating a unified development environment grounded in real-time information.
What you can do
- Content Lifecycle — Create, update, publish, and delete content entries for any model directly from your agent
- Model Discovery — List all entries for specific content models and browse available data structures using introspection
- Advanced GraphQL — Execute raw GraphQL queries or mutations for custom logic and complex nested data operations
- Revision Control — Retrieve specific entry details by ID to inspect metadata and field-level property values
- API Management — Discover available types, fields, and models in your current environment through automated introspection
- Global Config — Verify high-level tenant settings and configurations to ensure your CMS environment is healthy
- Multi-Locale Support — Seamlessly manage content across different language locales (e.g., en-US, pt-BR)
The Webiny CMS MCP Server exposes 9 tools through the Vinkius. Connect it to Cursor in under two minutes — no API keys to rotate, no infrastructure to provision, no vendor lock-in. Your configuration, your data, your control.
How to Connect Webiny CMS to Cursor via MCP
Follow these steps to integrate the Webiny CMS MCP Server with Cursor.
Open MCP Settings
Press Cmd+Shift+P (macOS) or Ctrl+Shift+P (Windows/Linux) → search "MCP Settings"
Add the server config
Paste the JSON configuration above into the mcp.json file that opens
Save the file
Cursor will automatically detect the new MCP server
Start using Webiny CMS
Open Agent mode in chat and ask: "Using Webiny CMS, help me...". 9 tools available
Why Use Cursor with the Webiny CMS MCP Server
Cursor AI Code Editor provides unique advantages when paired with Webiny CMS through the Model Context Protocol.
Agent mode turns Cursor into an autonomous coding assistant that can read files, run commands, and call MCP tools without switching context
Cursor's Composer feature can generate entire files using real-time data fetched through MCP. no copy-pasting from external dashboards
MCP tools appear alongside built-in tools like file reading and terminal access, creating a unified agentic environment
VS Code extension compatibility means your existing workflow, keybindings, and extensions all work alongside MCP tools
Webiny CMS + Cursor Use Cases
Practical scenarios where Cursor combined with the Webiny CMS MCP Server delivers measurable value.
Code generation with live data: ask Cursor to generate a security report module using live DNS and subdomain data fetched through MCP
Automated documentation: have Cursor query your API's tool schemas and generate TypeScript interfaces or OpenAPI specs automatically
Infrastructure-as-code: Cursor can fetch domain configurations and generate corresponding Terraform or CloudFormation templates
Test scaffolding: ask Cursor to pull real API responses via MCP and generate unit test fixtures from actual data
Webiny CMS MCP Tools for Cursor (9)
These 9 tools become available when you connect Webiny CMS to Cursor via MCP:
create_cms_entry
Provide the singular model name and field data as a JSON object. Creates a new draft entry for a content model
delete_cms_entry
This action is irreversible. Permanently deletes a content entry revision
execute_graphql_query
Specify api_type (manage, read, preview) and locale. Executes a raw GraphQL query or mutation against the Webiny CMS API
get_api_introspection
Retrieves the GraphQL schema introspection for the Webiny instance
get_model_entry_details
ID refers to the specific revision. Retrieves details for a specific content model entry
get_tenant_config
Retrieves global settings for the Webiny tenant
list_model_entries
Provide the model plural name (e.g. "Articles"). Specify api_type (manage for drafts, read for live). Lists all entries for a specific content model in Webiny
publish_cms_entry
Provide the specific revision ID. Publishes a draft entry, making it available via the "read" API
update_cms_entry
Provide the entry ID and a JSON object containing the field updates. Updates fields of an existing content entry revision
Example Prompts for Webiny CMS in Cursor
Ready-to-use prompts you can give your Cursor agent to start working with Webiny CMS immediately.
"List all entries for the 'BlogPosts' model in en-US."
"Create a new 'Author' entry: { 'name': 'John Doe', 'bio': 'Tech Writer' } in en-US."
"Publish the entry with ID 'post-123' for model 'Article'."
Troubleshooting Webiny CMS MCP Server with Cursor
Common issues when connecting Webiny CMS to Cursor through the Vinkius, and how to resolve them.
Tools not appearing in Cursor
Server shows as disconnected
Webiny CMS + Cursor FAQ
Common questions about integrating Webiny CMS MCP Server with Cursor.
What is Agent mode and why does it matter for MCP?
Where does Cursor store MCP configuration?
mcp.json file. You can configure servers at the project level (.cursor/mcp.json in your project root) or globally (~/.cursor/mcp.json). Project-level configs take precedence.Can Cursor use MCP tools in inline edits?
How do I verify MCP tools are loaded?
Connect Webiny CMS with your favorite client
Step-by-step setup guides for every MCP-compatible client and framework:
Anthropic's native desktop app for Claude with built-in MCP support.
AI-first code editor with integrated LLM-powered coding assistance.
GitHub Copilot in VS Code with Agent mode and MCP support.
Purpose-built IDE for agentic AI coding workflows.
Autonomous AI coding agent that runs inside VS Code.
Anthropic's agentic CLI for terminal-first development.
Python SDK for building production-grade OpenAI agent workflows.
Google's framework for building production AI agents.
Type-safe agent development for Python with first-class MCP support.
TypeScript toolkit for building AI-powered web applications.
TypeScript-native agent framework for modern web stacks.
Python framework for orchestrating collaborative AI agent crews.
Leading Python framework for composable LLM applications.
Data-aware AI agent framework for structured and unstructured sources.
Microsoft's framework for multi-agent collaborative conversations.
Connect Webiny CMS to Cursor
Get your token, paste the configuration, and start using 9 tools in under 2 minutes. No API key management needed.